The era of “CSI: Enhance” is finally here, but it comes with a catch. We are no longer just sharpening pixels; we are often dreaming up new ones.
The goal is deceptively simple: turn a 1024px blurry square into a billboard-ready image. However, the path to that goal splits into two distinct philosophies: Creative Upscaling (inventing detail that wasn’t there) and Purist Upscaling (recovering fidelity from what exists).
This guide breaks down the two best tools for these specific jobs and a “Step-Scaling” workflow to ensure you don’t bake in AI errors.
Magnific AI Upscaling: The “Creative” Upscaler
Best for: Portraits, AI art, low-res creative assets, and “hallucinating” texture.
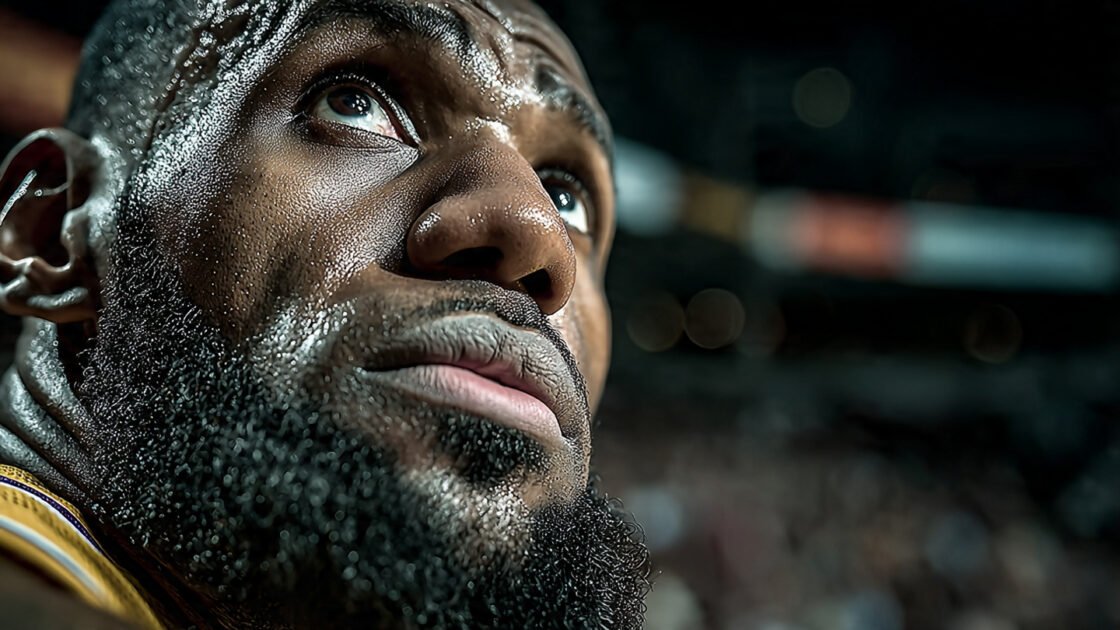
Magnific AI Upscaling doesn’t just enlarge; it re-imagines. It uses generative AI to understand what an object should look like at a high resolution and paints those details in. If you have a smooth, plastic-looking AI portrait, Magnific can add pores, wrinkles, and peach fuzz that never existed in the source file.
The “Hallucination” Control Panel
The secret sauce lies in managing the “Creativity” slider. This controls how much the AI is allowed to deviate from your original pixels.
- Creativity Slider (The “Truth” Dial):
- Low (0-2): Acts like a traditional upscaler. It sharpens edges but won’t add much texture.
- Medium (3-5): The sweet spot. It creates “micro-contrast” and realistic textures (skin, fabric weave) without changing facial features.
- High (6+): This is where “hallucination” begins. The AI might turn a blurry background blob into a specific flower or add intricate jewelry where there was only a smudge. Use with extreme caution.
- HDR & Resemblance:
- Push HDR to make lighting pop (great for cinematic shots).
- Keep Resemblance high if the subject’s identity (e.g., a specific person’s face) must remain unchanged.
Pro Tip: If your source image is an AI generation (Midjourney/DALL-E), use the prompt box in Magnific to guide the upscale. Typing “highly detailed film photography, 8k” tells the engine specifically how to fill in the new pixels.
Topaz Gigapixel Upscaling: The “Purist” Upscaler
Best for: Product photography, architectural renders, text/logos, and archival restoration.
Topaz Gigapixel (and its sibling Topaz Photo AI) takes a “do no harm” approach. It uses predictive modeling to clarify edges and reduce noise but tries incredibly hard not to invent new information.
Why Purists Choose Topaz
If you are upscaling a product shot of a Coca-Cola can, Magnific might accidentally change the font or add “cool” bubbles that obscure the logo. Topaz will simply make the existing logo sharper.
- Preserving Text & Logos: Topaz is superior for anything containing typography. It recognizes letterforms and sharpens the lines without morphing an “E” into an “F”.
- Face Recovery: While Magnific adds skin texture, Topaz recovers the face you have. It is less likely to change the bone structure of a subject, making it the better choice for real family photos or corporate headshots.
- Settings to Watch:
- Standard Model: The reliable workhorse.
- Art/CG Model: Use this for clean lines in illustrations or vector-like graphics.
- Text Preservation: Explicitly mask areas with text to force the AI to treat them as geometry rather than texture.
The Workflow: “Step-Scaling”
The biggest mistake beginners make is jumping from 1024px straight to 8000px in one go. This often “bakes in” weird artifacts (extra fingers, weird eyes) that become impossible to fix because they are now high-resolution weirdness.
Use the Step-Scaling method to maintain control:
Step 1: The Moderate Upscale (2x)
Upscale your image by only 2x. This reveals the AI’s “intention” without committing to massive file sizes.
- Tools: Topaz (for accuracy) or Magnific (low creativity).
Step 2: The “Janitorial” Pass (Fix Errors)
Open this new 2x image in Photoshop or an in-painting tool. Look for “glitches”:
- Are the eyes symmetrical?
- Did the AI turn a button into a weird blob?
- Is the text legible?
- Fix these now. If you upscale a glitch, the glitch becomes high-definition reality. Use the “Heal” tool or Generative Fill to correct the 2x image.
Step 3: The Final Push (4x)
Take your cleaned, corrected 2x image and run the final upscale (another 2x to hit your 4x target, or higher).
- Because your source is now cleaner and sharper (thanks to Step 2), the final AI pass will be significantly higher quality than if you had rushed it.
Conclusion
- Use Magnific AI when you need to ook reality to a synthetic or low-detail image.
- Use Topaz Gigapixel when you need to preserve the reality of a photo, product, or document.
- Use Step-Scaling to catch the AI’s mistakes before they become permanent.