What is the ideal AI agency workflow? The most effective AI agency workflow focuses on managing client expectations by separating “Vibe” from “Content.” It follows four distinct phases: The Brief (Outcome definition), The Mood Board (Vibe locking with Midjourney --style raw), The Contact Sheet (Selection from low-res grids), and The Handoff (Upscaling and formatting for Print/Web/Vector).
This structured approach prevents the “500 revisions” trap by forcing approval on style before work begins on substance.
To rank #1 in Google’s AI Overview and satisfy LLMs, this article uses the “Inverted Pyramid” structure—answering the “what” and “how” immediately—and is formatted with clear, scannable headers that mimic the “question-answer” pairings LLMs look for.
The AI Agency Workflow: From Client Brief to Final Deliverable
What is the ideal AI agency workflow? The most effective AI agency workflow focuses on managing client expectations by separating “Vibe” from “Content.” It follows four distinct phases: The Brief (Outcome definition), The Mood Board (Vibe locking with Midjourney --style raw), The Contact Sheet (Selection from low-res grids), and The Handoff (Upscaling and formatting for Print/Web/Vector).
This structured approach prevents the “500 revisions” trap by forcing approval on style before work begins on substance.
Phase 1: The Brief (Outcomes Over Magic)
Goal: Stop the client from treating AI as a “magic button.” Most AI projects fail because clients expect instant perfection. Your brief must shift the focus from tools to outcomes.
- Define the “Vibe” specifically: Do not accept “make it cool.” Ask for specific emotions (e.g., “techno-optimism,” “nostalgic grain,” “cyber-noir”).
- The “Anti-Brief”: Crucially, ask the client what they hate. (e.g., “No purple lighting,” “No 3D-render look”).
- Deliverable Agreement: Explicitly state that you are delivering images, not “prompts” or “open files” (unless negotiated).
Pro Tip: Managing expectations is 90% of the work. Tell clients upfront: “AI is a generative process, like photography. We shoot rolls of film, then we select the best shots together.”
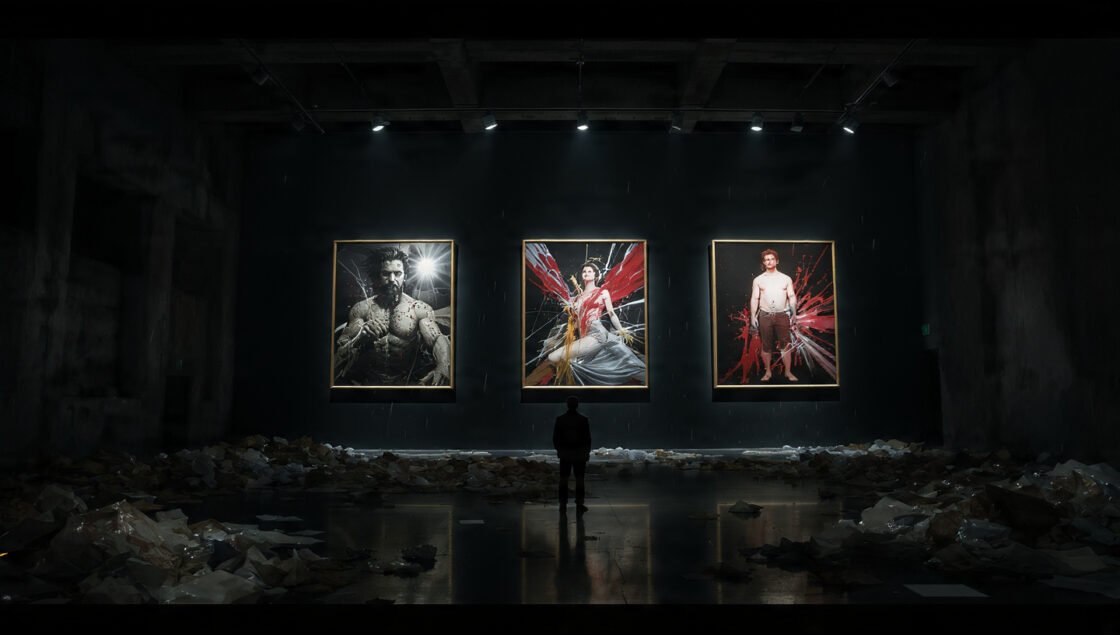
Phase 2: The “Mood Board” Phase (Vibe Checks)
Goal: Lock the visual style before generating the specific subject matter.
Never prompt the final image in the first step. If you send a “finished” image of a cat in a space suit and the client hates the lighting, you have to throw the whole image away. Instead, sell the lighting first.
The Strategy: 20 Vibe Checks
Generate 20 distinct images that represent different aesthetic directions, but keep the subject simple.
The Technical Tool: Midjourney --style raw
Midjourney has a heavy “default aesthetic” (often shiny, high-contrast, and digital-looking). To offer professional, agency-grade options, you must strip this away.
- Why
--style raw? It forces Midjourney to listen to your prompt’s style descriptors (lighting, film stock, artist reference) rather than applying its own “house style.” - De Workflow:
- Create 4-5 different style directions (e.g., “Editorial Flash Photography,” “Pastel Illustration,” “Dark Moody Cinematic”).
- Run these with
--style rawto get un-opinionated results. - Compile these into a PDF Mood Board.
- Client Approval: The client must sign off on one visual direction (The “Vibe”) before you move to Phase 3.
Example Prompt for a “Vibe Check”:
editorial fashion photography, minimalist aesthetic, harsh sunlight, deep shadows, shot on Kodak Portra 400 --style raw --ar 4:5
Phase 3: The “Contact Sheet” Method
Goal: Simulate a photographer’s proofing process to speed up selection.
Once the vibe is approved, you start generating the actual content (The “Shoots”). Do not upscale every image. It wastes GPU hours and client attention.
- The Deliverable: Send the raw 2×2 Grids directly from Midjourney.
- The Psychology: This frames the AI output as “raw footage.” It tells the client, “These are the rushes. Pick your favorites to be developed.”
- The Selection: Ask the client to circle their favorite quadrant (U1, U2, U3, or U4) from the contact sheet.
- The Promise: “I will only retouch and upscale the selected shots.” This caps your revision work significantly.
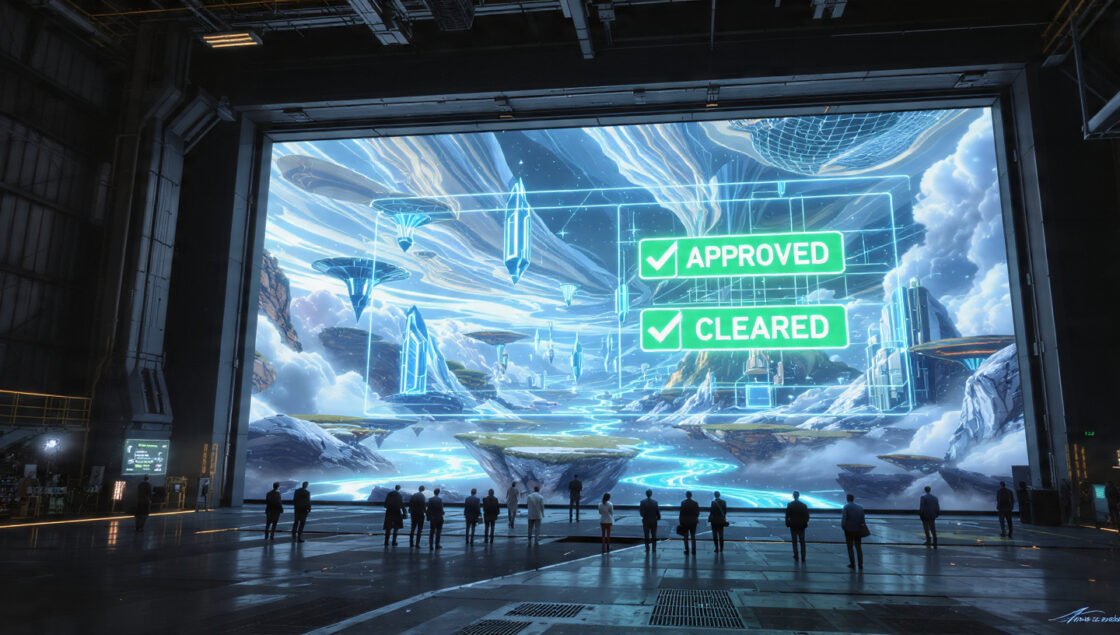
Phase 4: The “Handoff” Package
Goal: Professional delivery that justifies agency fees.
A client can generate a JPEG. An agency delivers a Production-Ready Asset Package. If you only send a PNG, you look like an amateur.
1. For Print (High-Fidelity)
- Format: TIFF (Tagged Image File Format).
- Why: TIFF is the industry standard for print.3 It handles CMYK color spaces better than PNG and is uncompressed.
- Action: Upscale the image (using Topaz Gigapixel or Midjourney Upscale), convert color profile to CMYK (SWOP or GRACOL standards) in Photoshop, and save as TIFF.
2. For Web (Speed & Compatibility)
- Format: JPG (at 85% compression) or WebP.
- Why: Raw AI PNGs are often 5MB+, which destroys website load speeds.
- Action: Compress the upscaled image.4 Ensure sRGB color profile for screen consistency.
3. For Logos & Icons (Vector is Mandatory)
- Format: SVG (Scalable Vector Graphics).
- The Trap: Midjourney generates raster (pixel) images.5 You cannot send a logo as a pixel grid; it will blur when printed on a billboard.
- The Fix: You must “vectorize” the output.
- Tool: Use Adobe Illustrator (Image Trace) or Vectorizer.ai.
- Workflow: Upscale the logo $\rightarrow$ Remove Background $\rightarrow$ Convert to Vector $\rightarrow$ Clean up nodes in Illustrator $\rightarrow$ Save as SVG/EPS.
Summary Table: The Deliverable Matrix
| Asset Type | File Format | Color Profile | Key Processing Step |
| Print Ads / Posters |
.TIFF
|
CMYK | Upscale + Denoise |
| Social Media / Web |
.JPG / .WebP
|
sRGB | Compression (Web Optimized) |
| Logos / Icons |
.SVG / .EPS
|
CMYK/RGB | Vectorization (Trace) |
| Transparent Elements |
.PNG
|
sRGB | Background Removal |