Key Takeaways
- The “Retouching Layer”: Treat AI generation as a raw capture, not the final product. Photoshop is essential for client-ready delivery.
- Contextual Selection: Always select the error plus the surrounding area (e.g., the hand en the wrist/cuff) to give Generative Fill lighting and anatomical context.
- De-Plasticizing: Use a 50% Gray Layer with Overlay Mode en Add Noise (Monochromatic, 2-5%) to mimic film grain and remove the smooth “AI glaze.”
- Generative Expand: Use the Crop Tool set to “Generative Expand” to change aspect ratios (vertical to horizontal) seamlessly without distorting the subject.
The Goal: Fixing the Hands, Eyes, and Glitches Clients Spot Immediately
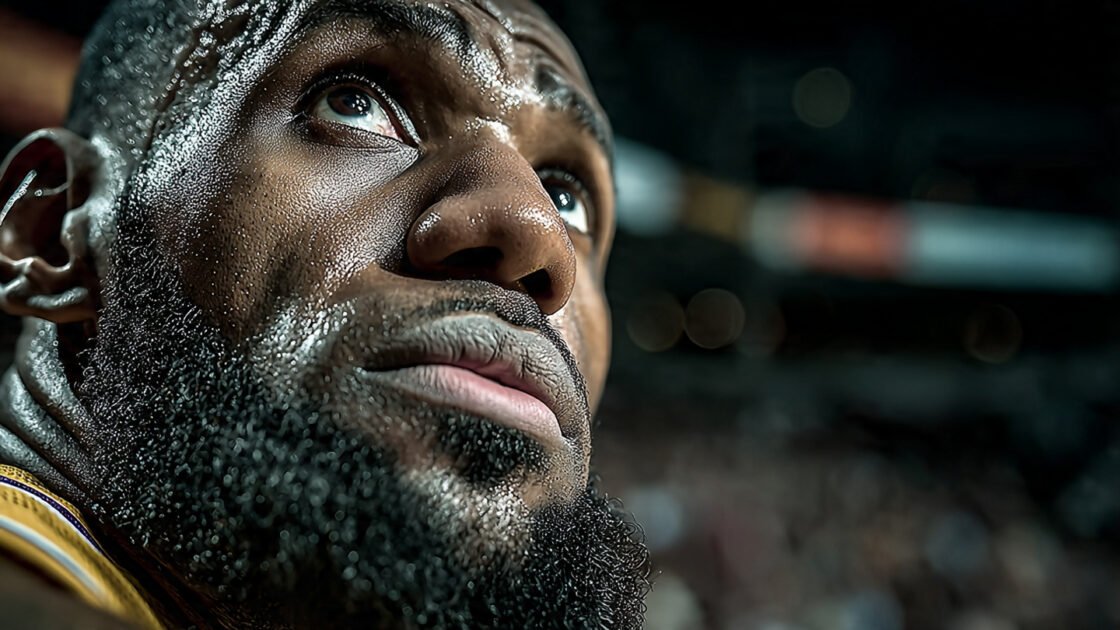
AI image generators like Midjourney and DALL-E 3 are incredible creative partners, but they are notoriously bad at finishing the job. They function like “dream machines,” prioritizing vibe over anatomical logic. This results in the “Uncanny Valley” effect—where 90% of the image is stunning, but the 10% that is wrong (six fingers, melted pupils, floating glasses) ruins the illusion.
Professional retouchers now use a workflow called The Retouching Layer. Instead of fighting the prompt to get a perfect generation, you generate a “good enough” base and use Photoshop’s Generative Fill to surgically repair the flaws.
Top Fixes Required:
- The “Melted” Eye: AI often renders pupils that leak into the iris.
- The “Spaghetti” Hand: Fingers that merge or branch off unnaturally.
- The Hallucinated Object: Random artifacts floating in the background.
The “Selection” Secret: Why Context is King
The most common mistake users make with Generative Fill is selecting dat alleen the error. If you have a finger that looks like a sausage, selecting just the finger tells the AI: “Put something here, but I won’t tell you what it connects to.”
The Fix: The 150% Rule To fix a hand, you must select the hand, the wrist, and a portion of the sleeve or background.
- Select the Error: Use the Lasso tool to circle the deformed hand.
- Expand the Selection: Hold
Shiftand circle the cuff of the shirt and a bit of the surrounding environment. - Why this works: The AI analyzes the pixels outside your selection to determine lighting direction, skin texture, and clothing style. By including the cuff, you force the AI to generate a hand that anatomically connects to that specific arm, matching the existing light source.
Pro Tip: If the AI struggles to fix a specific object, remove it first. Use the Remove Tool to wipe the glitch away, creating a clean slate, and then use Generative Fill to add the object back. It’s often easier for AI to draw on a blank canvas than to fix a broken mess.
Removing “AI Glaze”: Texturing Techniques
Midjourney images often suffer from “AI Glaze”—a hyper-smooth, plastic skin texture caused by the denoising process in diffusion models. It looks too perfect, lacking the microscopic imperfections of real photography.
To make an AI portrait look like a high-end photograph, you need to reintroduce “imperfection.”
Step-by-Step: The Film Grain Overlay
- Create a New Layer: In Photoshop, create a new empty layer on top of your stack (
Ctrl/Cmd + Shift + N). - Fill with Gray: Go to
Edit > Filland choose 50% Gray. - Set Blending Mode: Change the layer’s blending mode from Normal to Overlay. The gray will disappear.
- Add Noise: Go to
Filter > Noise > Add Noise.- Amount: 2% to 5% (depending on image resolution).
- Distribution: Gaussian.
- Check: “Monochromatic” (to avoid colored confetti specks).
- Result: This adds a uniform “film grain” that breaks up the plastic smoothness, tying the AI elements together and making the image feel like it was shot on a physical camera.
Expanding Canvas: Vertical to Horizontal Workflow
Clients often request a “hero banner” (horizontal/landscape) for a website, but the best AI generation you have is a vertical portrait. Stretching the image ruins it.
The Workflow: Generative Expand Don’t manually resize the canvas size. Use the integrated Crop Tool feature.
- Select the Crop Tool (C):
- Check the Bar: In the top options bar (or the floating Contextual Task Bar), look for the “Fill” option and set it to Generative Expand.
- Drag the Edges: Pull the left and right crop handles outward to turn your vertical rectangle into a wide panoramic strip.
- Hit Generate: Leave the prompt box empty.
- The Magic: Photoshop looks at the existing pixels (the blurry background, the shoulder of the subject) and invents new, matching scenery to fill the void. It preserves the aspect ratio and resolution of your original subject perfectly.
Note: If the expansion looks repetitive, try expanding one side at a time rather than both at once.